
 |
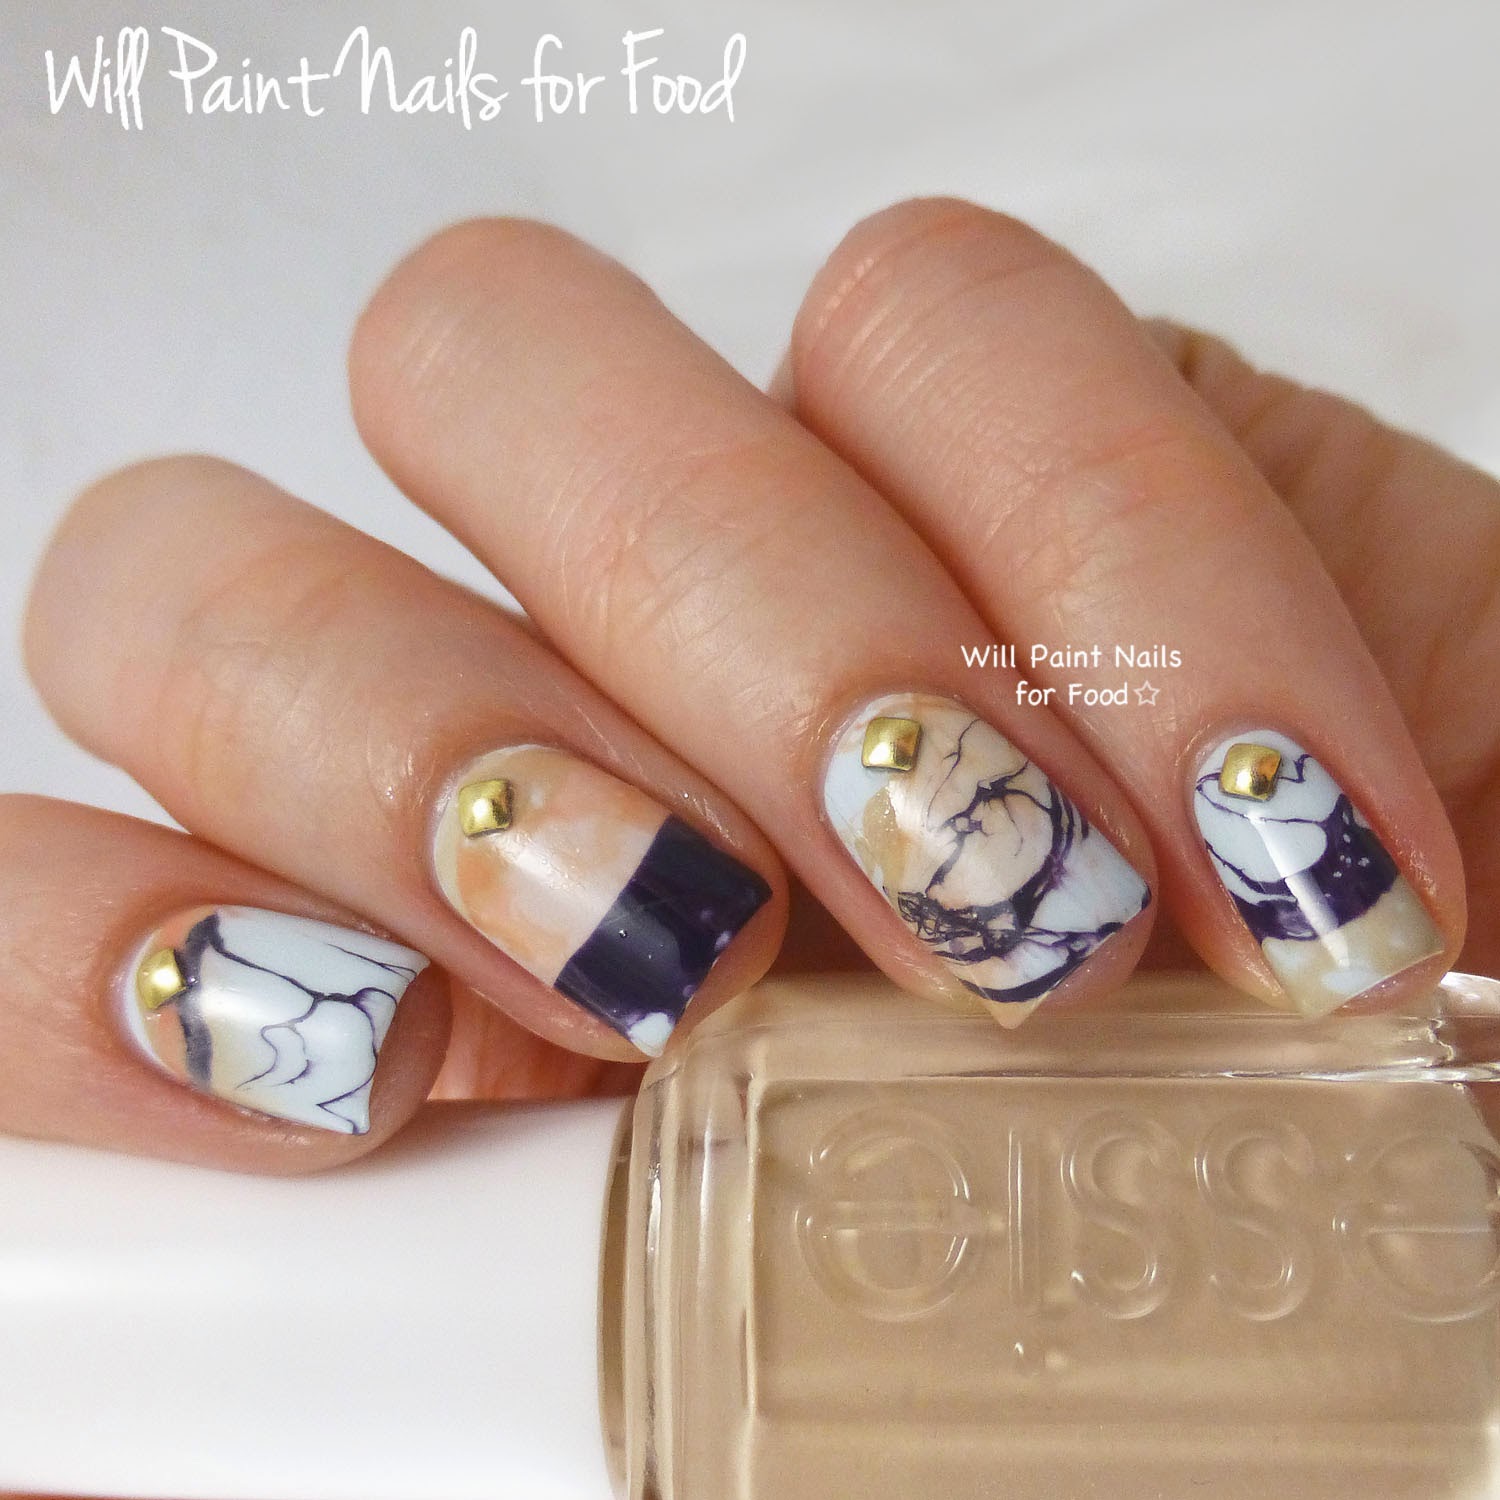
| Essie Resort 2014 water marble nail art |
About this design: If you've been following this blog for some time, you will know that I don't do very many conventional water marble designs. You know, the kind that look like this. It's not that I don't want to, it's just that I can't. Those perfect swirls of colour, I either can't get the polish to move correctly in the water, or it starts to dry when I move it around, ruining the design.
 |
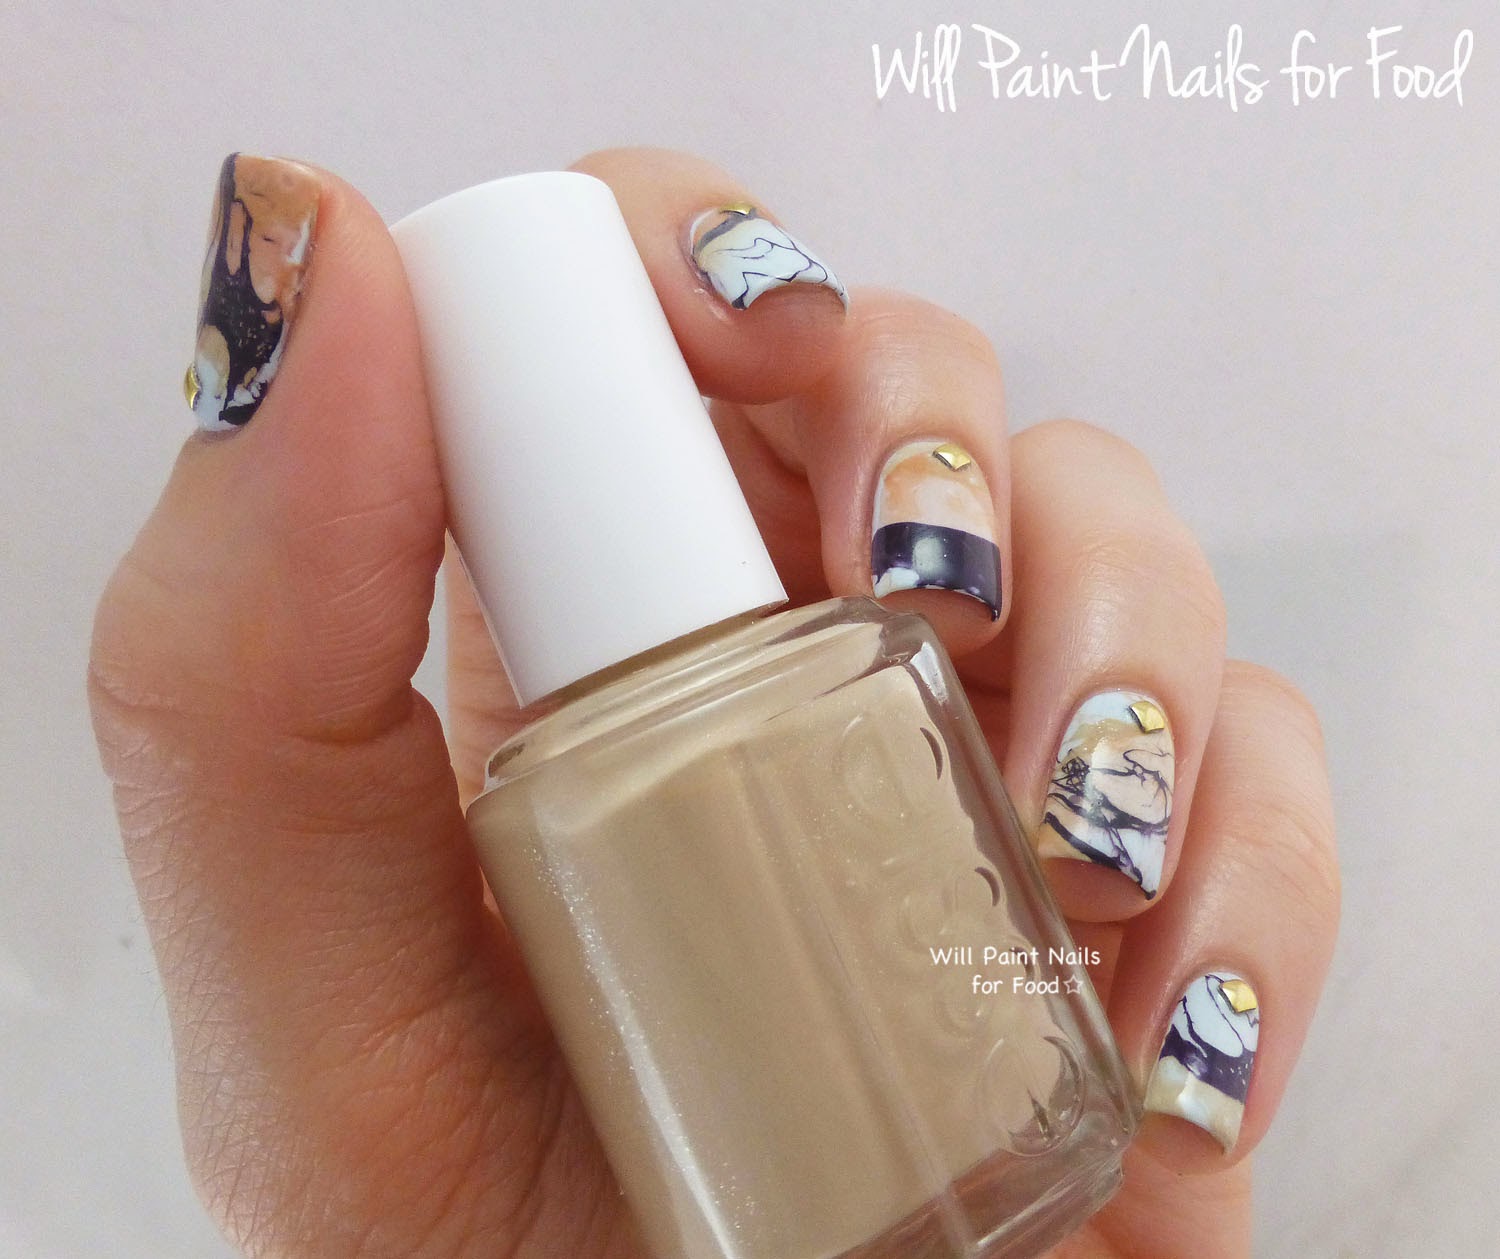
| Essie Resort 2014 water marble nail art |
But I've been doing a lot of unconventional water marbles (you can see past ones here and here), and I feel like I have a handle on this little technique of mine. It's much like the "water spotted method" other bloggers have been doing, but I don't really end up with a spotted look so I am reluctant to use this term. I tend to call it a disrupted water marble, because the polish is disrupted and dispersed by the use of hairspray.
 |
| Essie Resort 2014 water marble nail art |
 |
| Essie Resort 2014 water marble nail art |
To get this look: I used all four polishes from the Essie Resort 2014 collection. I started with a base of Find Me An Oasis - the lightest colour of the collection. Then I used Cocktails & Coconuts, Resort Fling, and Under The Twilight for the water marble. I drop the polishes in the water, like you do with a regular water marble. I may swirl them around with a toothpick, but often I just give it a spritz of hairspray before dunking my nail in.
 |
| Essie Resort 2014 water marble nail art |
If I feel like the nail needs a bit more, I'll let it dry and repeat the water marble, and you get a nice layering effect that way.
 |
| Essie Resort 2014 water marble nail art |
Overall: This is probably one of my favourite water marbles to date. I really like the addition of studs which makes it look a bit more classy or something like that. I also think it works because the colours go so well together. The only downside is that my top coat smeared the design a bit, but with a technique like this, I don't mind so much.
What do you think of this? Do you enjoy doing water marble nails?
These are gorgeous, they look like real marble. I think the effect you have created is much more beautiful than 'conventional' water marble, which always makes me think of the seventies...
ReplyDeleteThese look amazing! I'll have to try it out since the traditional water marble way always turn out bad for me, lol.
ReplyDeleteThis is so beautiful. The colors match perfrctly together. Love it!
ReplyDeleteIt's amazing! It really looks like marble, what can't be said about conventional water marbles
ReplyDeleteThis looks amazing - chaotic and beautiful, kinda like a snadstorm.
ReplyDeleteThis is beautiful, like real stone. The colours and the structures, just "right".
ReplyDeleteI like the idea of two/more marbling layers and the mix with the "regular" and spray marble. I'm a beginner and experimenter with this and have done marbling only once on foil and once on fingers. Its fun and I think you can be proud of your result. I find irregular structures much more interesting than regular ones :-)
Greetings from Berlin,
Moni
Wow, I love it! It reall looks like some kind of marble (the stone)
ReplyDeleteLooove this design!! I need to try your method soon :)
ReplyDeleteIt's my favourite marble from you too! I'm absolutely loving the colour combination and the unique patterns <3
ReplyDeleteOh, so stunning! It came out perfectly :) And these colors work together so well.
ReplyDeleteIt gives me a vintage beach painting vibe if that makes sense? Lol. Either way, it is gorgeous!
ReplyDeleteI love your disrupted marbles, they definitely do look more like actual marble than the more organized looking versions! :)
ReplyDeleteThis comment has been removed by the author.
ReplyDeleteWow, looks like the real deal marble as in the stone, amazing!
ReplyDeleteI am absolutely swooning. These are FABULOUS!
ReplyDeleteI love this too! Its so nice!
ReplyDelete